Save the script sample.gui to somewhere in your local disk. Then, at the GrADS prompt ga-> type
ga-> gui sample.guiAlternatively, you can set the environment variable GAGUI before starting GrADS. On Unix under the C-Shell (csh) the syntax is:
% setenv GAGUI sample.guiwhile on Windows 95/NT under the DOS prompt you will would typically enter
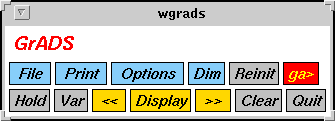
C:/USR/PEOPLE/DASILVA> SET GAGUI=sample.guiThe following window should appear on your screen

In this window, we have adopted the arbitrary convention that Menus are light sky blue, Buttons are grey, and the special Display Buttons yellow. All the screenshots in this document were created under SunOS using the OpenLook windows manager; the window dressings (borders and title bar) may look slightly different on your machine.
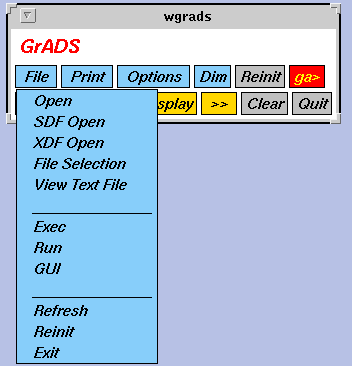
The Open, SDF Open and XDF Open items will start a File Requestor widget which looks like this:
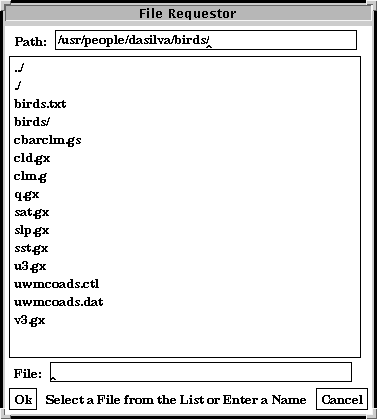
After the user type in or click on a file name, the corresponding GrADS command (open, sdfopen or xdfopen) is executed on the file. After the data file is open, a Variable Selection widget pops up:
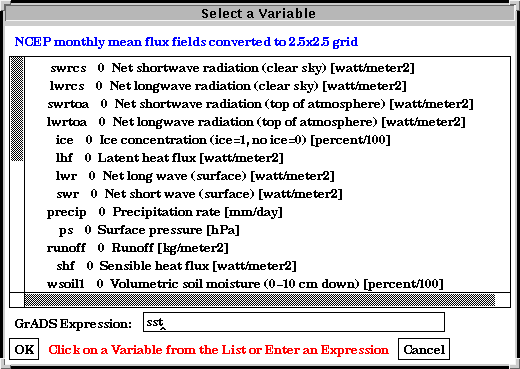
From this widget the user selects one of the variables in the file to become the default variable, or type in a valid GrADS default expression. This default expression is used in conjunction with yellow <<, Display and >> buttons. You can change this default expression at any time by clicking on the VAR button. These buttons are further discussed below.
Similarly, the Exec, Run and GUI items pop up a File Requestor and execute the corresponding GrADS command on the user selected file. Of course, no Variable Selection widget is launched in such cases.
The File Selection item pops up a scrollable list (not shown) with all the opened files. The user then click on a given file to make it the default file for subsequent GrADS operations.
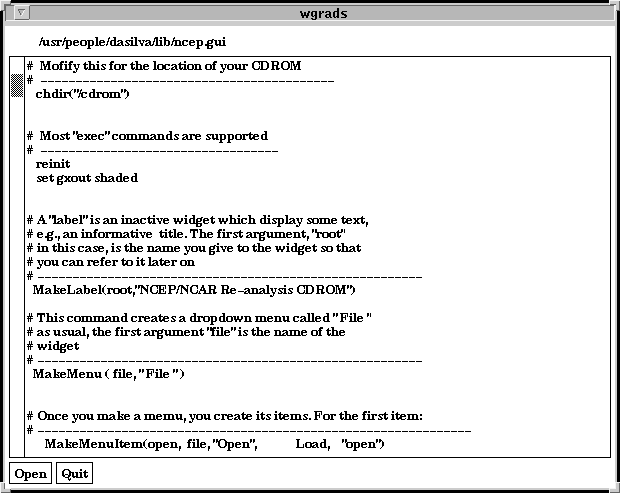
The View Text File item pops up a File Requestor widget, and the selected file is then opened with the Text Viewer widget:
The menu item Reinit issues the GrADS command of same name, while the menu item Exit executes the GrADS quit command. The menu item Refresh refreshes the screen on some systems (that is, it does not always work).
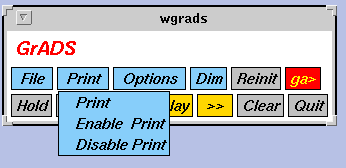
The Enable Print item pops up a File Requestor widget and execute the GrADS command enable print on the user selected file. The Print and Disable Print items simply issues the GrADS commands of same name.
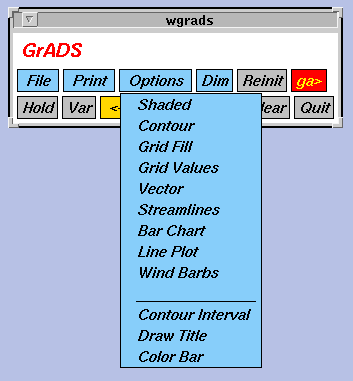
The menu item Shaded issues the GrADS command set gxout shaded; all other items above the horizontal line set the corresponding gxout attribute.
The menu item Contour Interval pops up a dialog box on which the user types in a value for the contour interval. This value is then used to issue a GrADS set cint command.
Similarly, the Draw Title item allows the user to specify a title for the plot.
The menu item Color Bar executes Mike Fiorino's cbarn.gs script.
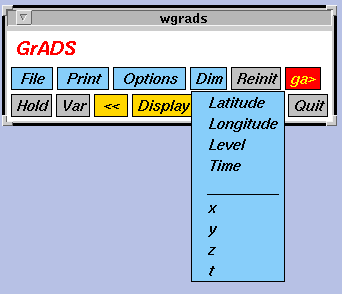
For example, clicking on Latitude you get the following dialog box:
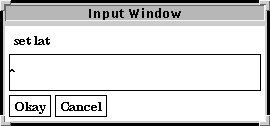
The user would type in the latitude range, say -20 30, causing
the GrADS command
set lat -20 30 to be issued. Future versions of
GAGUI will include a more elaborate dimension setting widget with rubber
bands, sliding bars, etc.
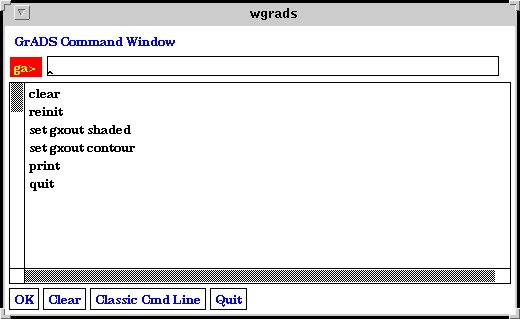
Each command the user types in is sent to GrADS when the ENTER key is pressed or when the user clicks the OK button. Each new command is added to the scrollable history list below the command entering box. By single-clicking on a item from this scrollable history list, the command is copied to the command entering area; double-clicking on an item causes the command to be executed and added to the top of scrollable history list.
The Classic Cmd Line button activates the classic command line interface with the familiar ga-> prompt, and readline command line editing features if GrADS has been built with this option. Notice that when the classic command line interface is active the Athena widgets are inactive. You must enter a period "." to leave the command line interface and return to the GUI.
The Clear button clears the command entering box, while the Quit button quits GrADS.
The Display button displays the default expression set with the Variable Selection widget. By default, a clear command is issued to clear the screen before plotting. If the toggle button Hold is selected no such clear screen is performed before display; use this feature to overlay plots.
The >> button behaves like the Display button except that it advances one time step before displaying. Conversely, the << button decrements time by one time step before displaying. Use these buttons to what your expression evolve in time, one frame at a time.
Bug: When time is a looping dimension clicking on Display will start an animation sequence. However, when the animation is done the following message will be written to the console:
Press enter to continue:::::You must press ENTER before the GUI widgets can become active again.